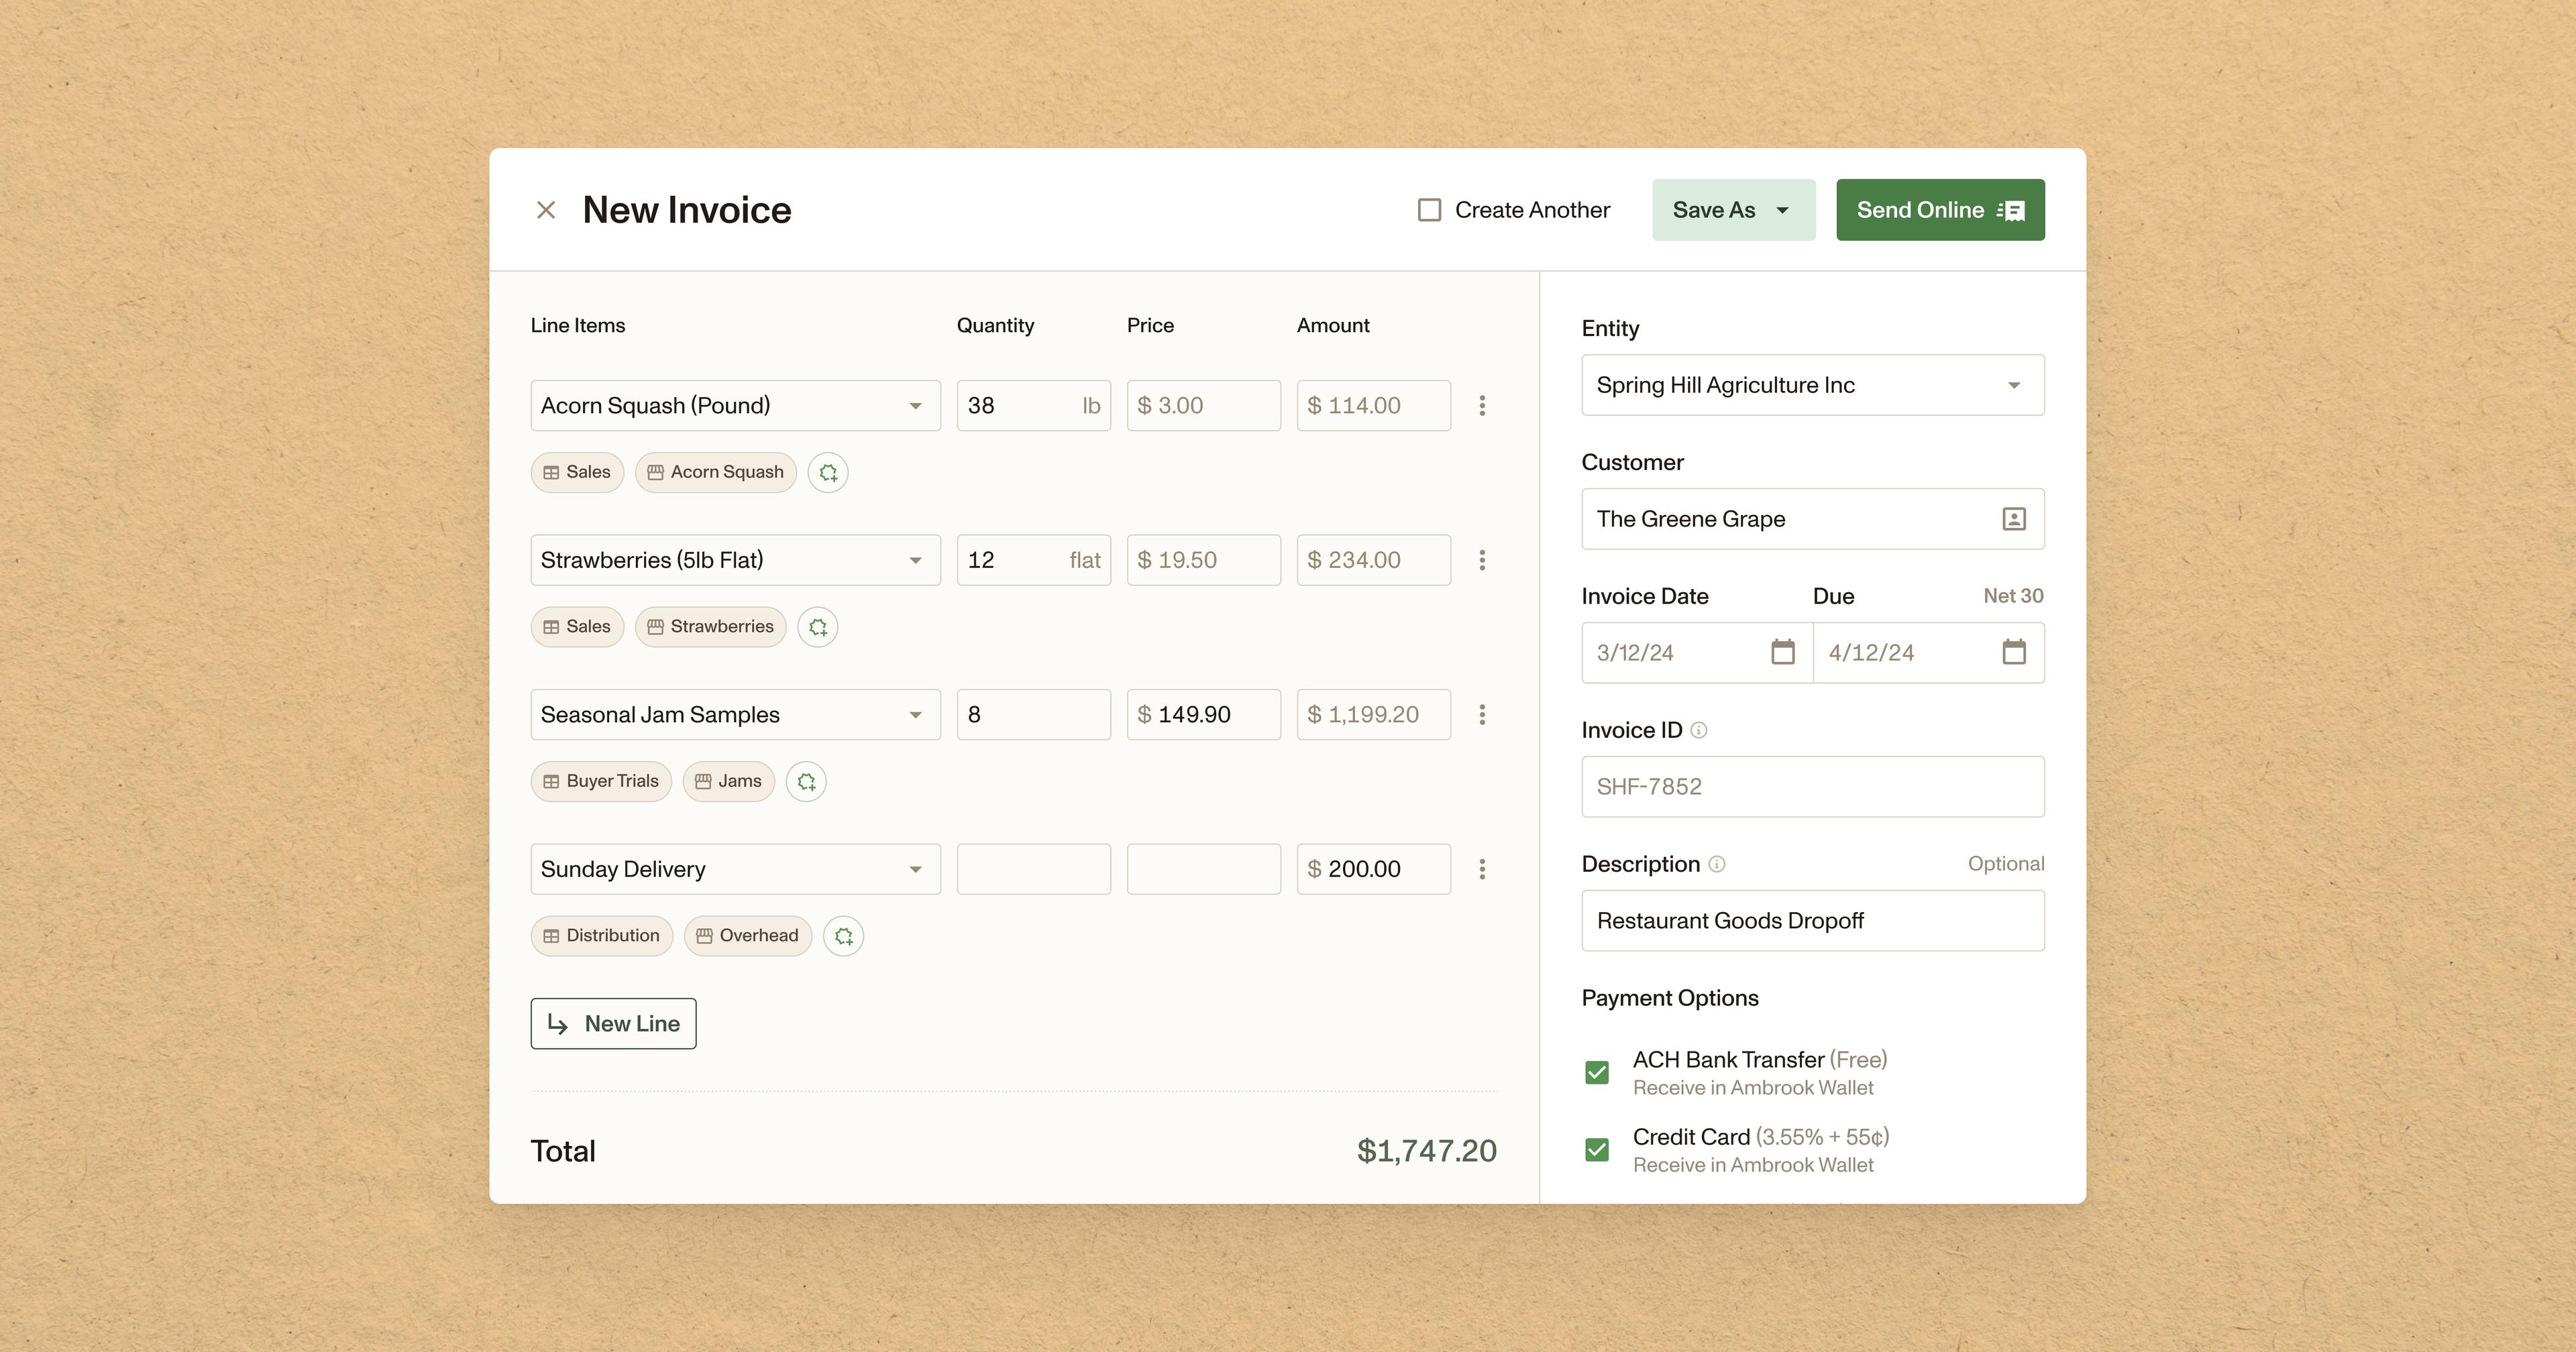

From agreeing on the terms to sending invoice reminders, build a workflow that gets you and your clients on the same page about payments.
Introduction
Late payments are a frustrating reality for many contractors. While a clear payment schedule doesn’t guarantee on-time payments, establishing a process to set expectations and reminders can make those client interactions easier to navigate.
Step by step, this lesson walks you through creating a repeatable workflow for managing customer payments. You’ll see how to go from defining a construction payment schedule, to communicating the terms with your clients, to setting up automatic invoice reminders.
Learning Outcomes
By the end of this lesson, you’ll know how to:
Agree on a payment schedule and terms with clients
Send automatic reminders about upcoming and overdue payments
Keep track of unpaid invoices
Step 1: Define Your Payment Schedule
A payment schedule outlines when your client will pay you for your work, often on specific dates or at milestones. It’s commonly used in industries where the service takes place over a longer period of time. The benefit of this is that contractors get some amount of cash inflow as they’re actively completing a project.
If you want clients to pay you on a schedule, the first step in your workflow is to clearly define how it’s structured. Here are three common structures:
Deposit and final payment: You collect a certain percentage or amount of the total contract value up front. Once the job is complete, clients pay you the rest.
Progress payments: You bill clients multiple times throughout the project, based on the percentage of total work that’s complete.
Milestone payments: You bill clients multiple times throughout the project, based on phases of work that are complete. For example, a partial payment once you’ve completed the roof, then the remaining payment once the entire renovation is complete.
Keep in mind that certain states and contractor license boards regulate construction payments in various ways. Some limit how much you can collect before work starts, for instance, and others require you to include specific language in your client contract. Check your state’s requirements or talk to a legal professional before setting your terms.
Step 2: Set and Communicate the Payment Terms
Now that you’ve settled on a payment schedule, you’ll need to set payment terms.
A payment schedule establishes when you’ll bill a client throughout the job. The payment terms determine how long they have to actually pay it once the document is sent to them. Here are a few examples:
Net 15: Payment is due within 15 days of the invoice being sent
Net 30: Payment is due within 30 days of the invoice being sent
Due upon receipt: Payment is due immediately
Net 30 is the default for invoices in Ambrook. You can change it by going to Settings, finding Preferences, then editing Default Net Terms once you’ve decided on yours.
Once you’ve determined both your payment schedule and your terms, you’ll want to write all of this into your client contract. This ensures that everyone agrees on payment expectations, and you have signed proof of your alignment.
As another reminder, you can restate your payment schedule and terms in the estimates or invoices you’ll send out to customers. In Ambrook, one way to do this is by saving a template closing message:

Create a new estimate or invoice.
In the Closing Message field under your line items, type in your standard payment schedule and terms.
Click Save as Template.
Next time you create an estimate or invoice and want to remind clients about the terms you agreed on, you’ll see an option to Use Template for the message.
With terms and schedules set and accepted by customers, it’s time to manage the payments themselves.
Step 3: Invoice on Time

You now have a payment schedule laid out, which you can follow as you complete the job. Billing your customers on time is the first step to getting paid on time; as we wrote in our guide to invoicing, this sets a good rhythm for the customer relationship.
Here are a few other tips to make invoicing easier in Ambrook:
You can create invoices directly from estimates, so you don’t have to retype the line items.
If you use Ambrook Wallet, you can choose to offer different online payment options depending on what’s convenient for you and your customers, like ACH transfer or credit card.
If a customer pays part of an invoice by check or cash, you’ll be able to match that transaction to the full invoice. Then, when they pay the remaining amounts, the rest of the transactions can also be matched to the same invoice.
When you’re sending invoices to people who have a phone number listed in Ambrook, look out for the option to send them a text on top of the default email notification.
After the invoice is out, the next step is making sure it gets paid.
Step 4: Send Automatic Payment Reminders
Following up with customers is one way to reduce delayed payments, but it takes a lot of work to send reminders yourself across multiple clients and jobs.
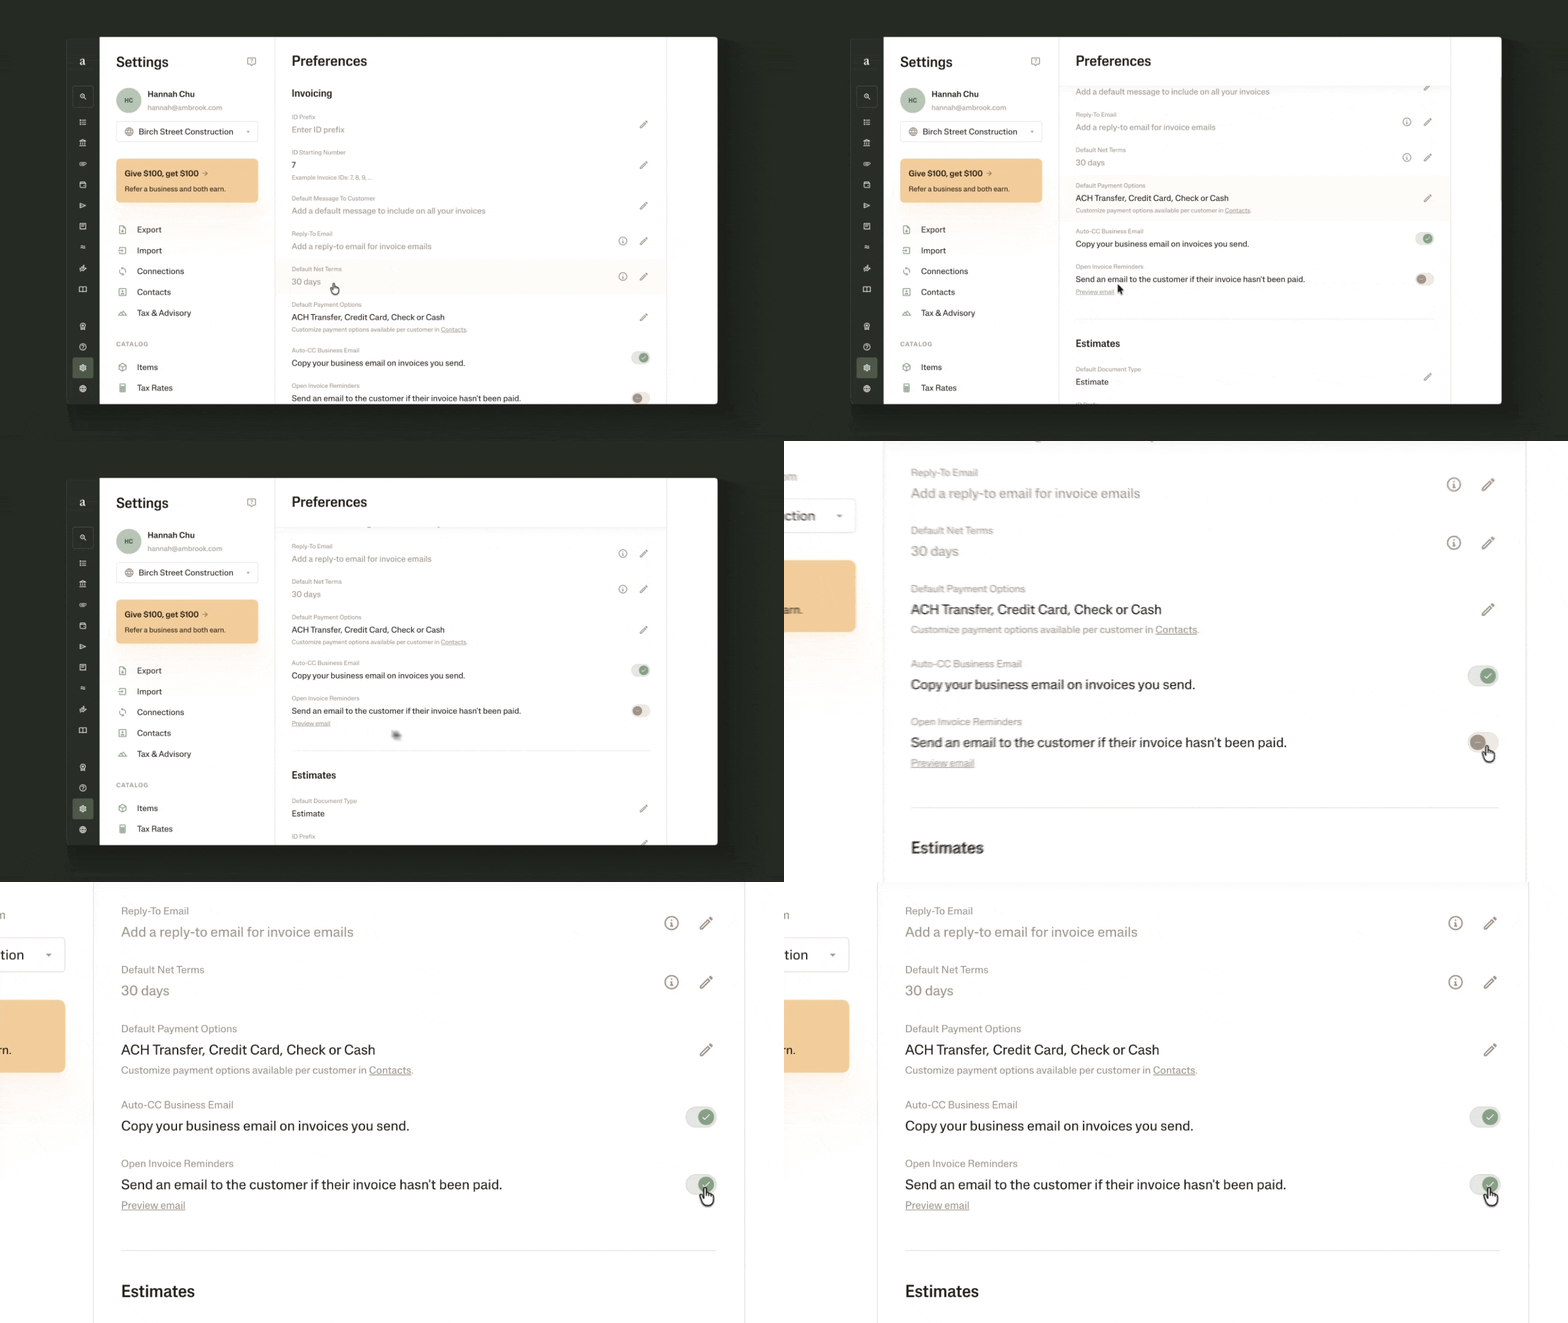
This is where tools like Ambrook can come in handy. You can set automatic reminders for all of your invoices, so you don’t have to send each one manually. Here’s how that works:
Go to Settings.
Find Preferences.
Under Invoicing, look for Open Invoice Reminders and toggle it on.
Apart from the email customers get when you send out an invoice, they’ll now also receive the following notifications:
2 days before the invoice’s due date
7 days after the due date
14 days after the due date
You’ve now set up the system so it can handle reminders for you, but it’s still a good idea to keep up with your accounts receivable (AR) and track the status of customer payments. In the last step, we’ll talk about a few ways to keep a regular pulse on your open invoices.
Step 5: Check on Your Accounts Receivable
In Ambrook, you can use your Invoices tab like a dashboard. You’ll see all the invoices you’ve drafted and sent in one place, including a tally of how many are unpaid and overdue.
If you’ve been experimenting with AI tools for your operation, you can also build a skill in a platform like ChatGPT that scans Ambrook invoices each week and reports back on your accounts receivable. We walked through how to do this in a previous lesson.
Resources to Dive Deeper
Watch the webinar recording where our team explains how Ambrook invoicing works in more detail.
Tracking your job expenses goes hand in hand with accurately billing your customers. Check out our lesson on tracking construction expenses.
FAQs
What’s the difference between a payment schedule and payment terms?
A payment schedule determines when you’ll bill a client during the job. For example, that could be when you’ve reached certain building milestones or when the work is complete. Payment terms set how long the client has to pay your invoice once it’s sent to them (within 15 days, within 30 days, etc.). Typically, your schedule and terms are written into your client contract.
What does net 30 mean on an invoice?
Net 30 means your customer needs to pay the invoice within 30 days of when you sent it out. Similarly, net 15 gives them 15 days from when you sent the invoice, and “due upon receipt” means they need to pay immediately.
What’s the difference between progress payments and milestone payments?
Progress payments are based on a percentage or amount of the work that’s complete. Milestone payments are tied to specific phases in the project, like when you’ve finished the roof on a home renovation or passed an inspection.
Should a payment schedule be in the contract?
Yes. Putting your payment schedule and terms into a client contract (and asking your customer to review and sign) means you have a clear agreement in writing. If a payment ends up being late, you can point to the contract for proof of the agreement. Some states may have specific requirements for including payment schedules in a contract; check your state’s contractor licensing board.
When should you follow up on an unpaid invoice?
One approach is to send a reminder shortly before the due date, then follow-ups at set points when it’s overdue. For example, Ambrook’s automatic reminders go out two days before the due date, then seven days after the due date and another one 14 days after the due date.
This resource is provided for general informational purposes only. It does not constitute professional tax, legal, or accounting advice. Consult a qualified professional about your specific situation.